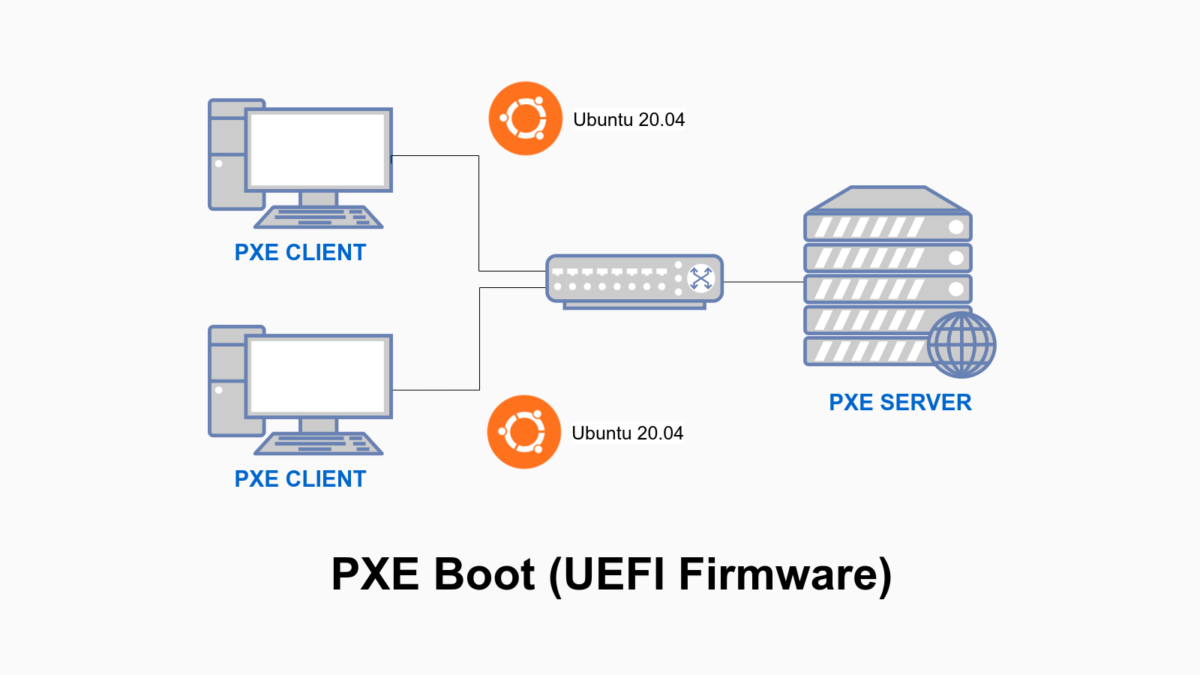
1. Cấu hình PXE Boot Server
Chúng ta cần sử dụng file cấu hình của Grub để thực hiện PXE Boot cho UEFI. Tải shim.signed package về thư mục /tmp
cd /tmp
apt-get download shim.signed -y
Trích xuất file shimx64.efi.signed trong package shim.signed, đổi tên thành bootx64.efi và sao chép vào thư mục /srv/tftp
dpkg-deb --fsys-tarfile /tmp/shim-signed*deb | tar x ./usr/lib/shim/shimx64.efi.signed -O > /srv/tftp/bootx64.efiKế tiếp, tải grub-efi-amd64-signed package
apt-get download grub-efi-amd64-signedTrích xuất file grub-efi-amd64-signed trong package grub-efi-amd64-signed, đổi tên thành grubx64.efi và sao chép vào thư mục /srv/tftp
dpkg-deb --fsys-tarfile /tmp/grub-efi-amd64-signed*deb | tar x ./usr/lib/grub/x86_64-efi-signed/grubnetx64.efi.signed -O > /srv/tftp/grubx64.efiTải thêm font cần sử dụng cho grub menu về thư mục /srv/tftp
apt download grub-common
dpkg-deb --fsys-tarfile grub-common*deb | tar x ./usr/share/grub/unicode.pf2 -O > /srv/tftp/unicode.pf2
Thư mục /srv/tftp bây giờ sẽ có các file như dưới đây
total 102668
-rw-r--r-- 1 root root   955656 Dec 22 06:26 bootx64.efi
-rw-r--r-- 1 root root  1484680 Dec 22 06:03 grubx64.efi
-r--r--r-- 1 root root 86448612 Dec 22 06:29 initrd
-r--r--r-- 1 root root   120820 Aug 31 07:37 ldlinux.c32
-rw-r--r-- 1 root root    43140 Dec 23  2019 pxelinux.0
drwxr-xr-x 2 root root     4096 Dec 22 01:43 pxelinux.cfg
-rw-r--r-- 1 root root  2395475 Dec 22 06:04 unicode.pf2
-r--r--r-- 1 root root 13660416 Dec 22 06:29 vmlinuz
2. Tạo Grub Boot Menu
Tạo file grub/grub.cfg nằm trong thư mục /srv/tftp
mkdir /srv/tftp/grub
nano /srv/tftp/grub/grub.cfg
Nhập vào nội dung sau
set default="0"
set timeout=5

if loadfont unicode ; then
  set gfxmode=auto
  set locale_dir=$prefix/locale
  set lang=en_US
fi
terminal_output gfxterm

set menu_color_normal=white/black
set menu_color_highlight=black/light-gray

function gfxmode {
        set gfxpayload="${1}"
        if [ "${1}" = "keep" ]; then
                set vt_handoff=vt.handoff=7
        else
                set vt_handoff=
        fi
}

set linux_gfx_mode=keep

export linux_gfx_mode

menuentry 'Install Ubuntu 20.04' {
        #gfxmode $linux_gfx_mode
        linux vmlinuz  ip=dhcp  url=http://192.168.0.139/images/ubuntu-20.04.5-live-server-amd64.iso fsck.mode=skip
        initrd initrd
}
Bạn cần thay đổi thông số ở mục url= thành địa chỉ IP tương ứng của PXE Boot Server để máy trạm có thể kết nối và tải file ISO khi khởi động.
3. Cấu hình DHCP Server
Chỉnh sửa lại file cấu hình của DHCP Server
nano /etc/dhcp/dhcpd.confChỉnh nội dung lại như sau và lưu lại
allow bootp;
allow booting;
max-lease-time 1200;
default-lease-time 900;
log-facility local7;

option ip-forwarding    false;
option mask-supplier    false;

set pxetype = option pxe-system-type;

   subnet 192.168.0.0 netmask 255.255.255.0 {

       option routers 192.168.0.1;
       option domain-name-servers 1.1.1.1;
       range 192.168.0.200 192.168.0.222;
       class "pxeclients" {
          match if substring (option vendor-class-identifier, 0, 9) = "PXEClient";
          next-server 192.168.0.150;
          if pxetype=00:06 or pxetype=00:07 {
             filename "bootx64.efi";
          }
          else {
             filename "pxelinux.0";
          }
       }
}
Khởi động lại DHCP Server
systemctl restart isc-dhcp-server.service4. Thực hiện PXE Boot trên máy UEFI
Mình chỉnh lại cấu hình của máy ảo trên ESXI 7.0 thành Firmware: UEFI

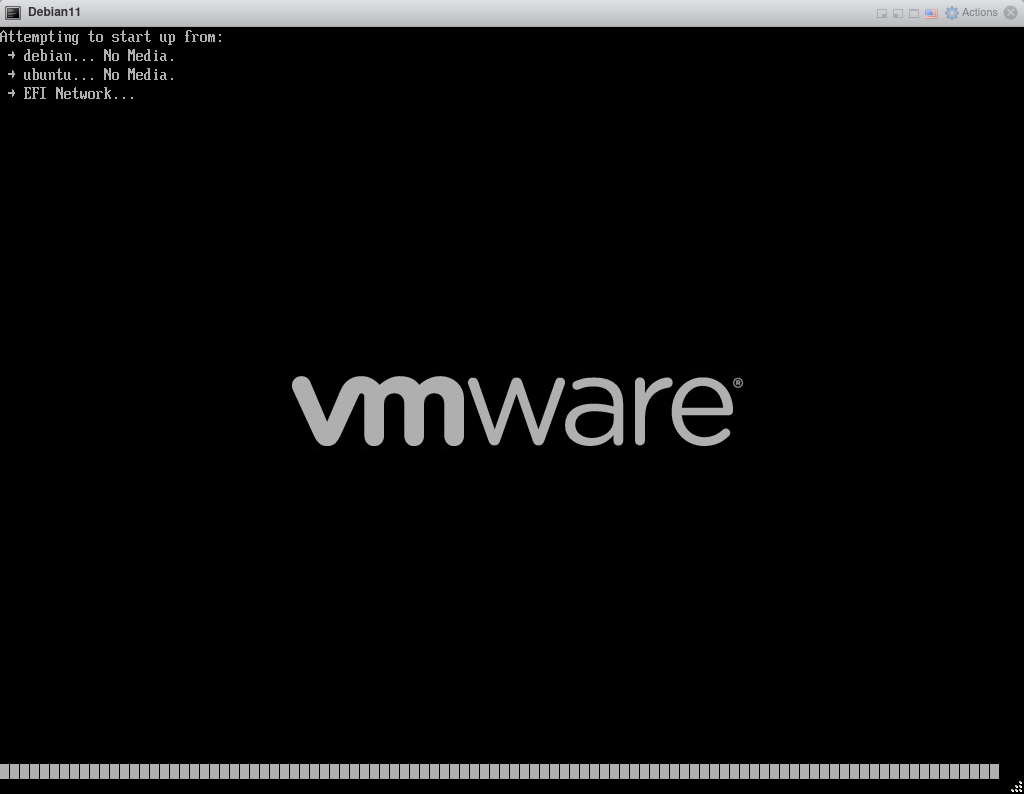
Khởi động lại máy ảo và chọn khởi động bằng PXE

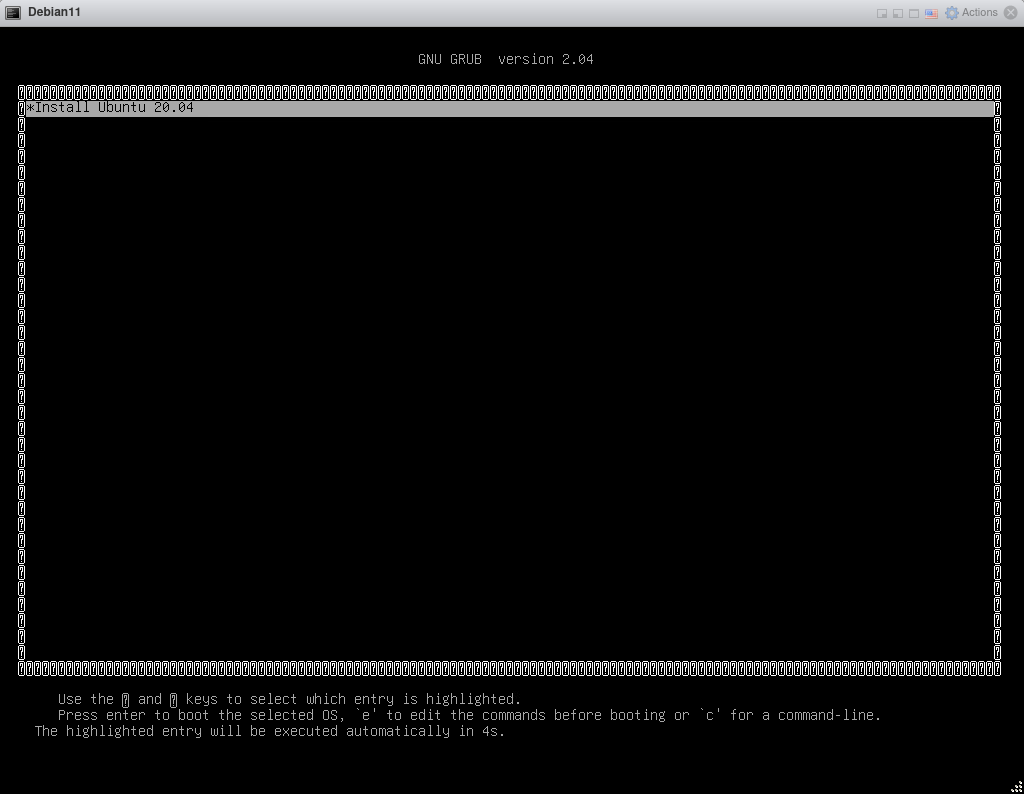
Kết nối thành công đến PXE Boot Server và hiện ra grub menu


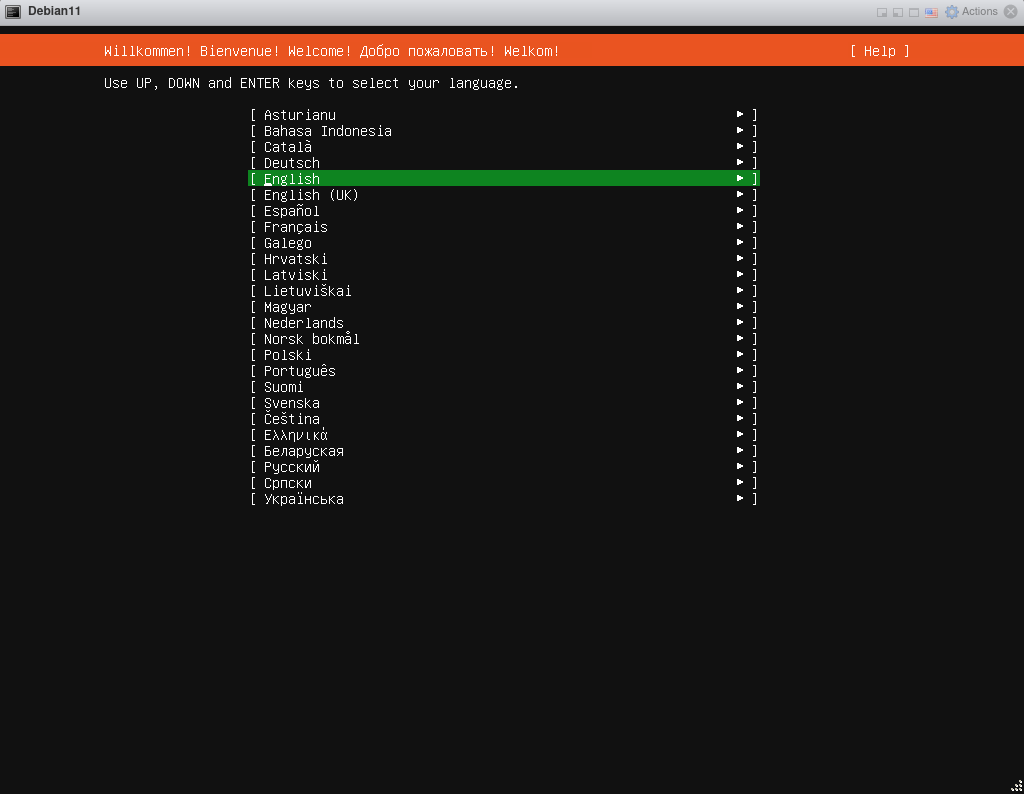
Quá trình PXE Boot đã diễn ra thành công trên máy ảo sử dụng UEFI Firmware.
Chúc bạn thực hiện thành công!
Tham khảo: Oracle, Golinuxcloud
